
Hi, today we will make a decorative Tulip for the kitchen.
Those who grew up in the 90's remember Splinter, the wise father of the teenage mutan ninja turtles, why is this cartoon character present on this project? well because some mice will be recycled!

Materials:
-PET plastic bottle.
-Glue (super bonder is better).
-Acrylic paint.
-Artistic soft Brush
-Old tooth brush.
-Transparent Spray Paint (shiny finishing)
-Neon Orange Spray paint (or neon orange acrylic paint)
-Computer mouse carcass (you will need 8)
Tools:
-Cutter
-Wire Cutter
-sand paper
-Old tooth brush.
-Transparent Spray Paint (shiny finishing)
-Neon Orange Spray paint (or neon orange acrylic paint)
-Computer mouse carcass (you will need 8)
Tools:
-Cutter
-Wire Cutter
-sand paper
let's start!
First select the mouse tops, try to select 8 equal or 2 groups of 4

Now use the wire cutter to retrieve the inside part, clean as much as you can.

now glue 4 of them as shown above.

now glue the other 4 as shown in the picture one by one.

it should look like this:

it is quite hard to get 8 equal mouse tops as you can see i used 2 groups of four, i got mine at the local technology district, when imported from china many times some products arrive damaged due to transport procedures marine salt and other factors so the resellers just throw them, also many companies change their computers and their mice regularly find out when! or contact your office IT technician they will help you gather those mouse tops.

if you can get a lot of mouse tops try other flowers, as you can see you can use them in a modular form.
next step is to paint it black, i used spray myself to save some time, you can use your acrylics to get a personal touch.

is time for some color, start from the bottom is easier! paint with a soft brush and some green acrylic, remember to paint in one long stroke at a time so it looks professional.

when done with the primary layer is time for some texture, i did the leaves adding white strokes and some dark green strokes, in order for it to work paint the texture layers when the first layer is still not dry, about 50% dry is good enough, the technique of painting on wet is used so colors blend and look more natural.

for the petals i used the same technique but i let it dry abou 70% going from the orange layer adding red and purple layers diluted in water.

now is time to use the PET bottle, i used a regular water bottle because the size is convenient, you can use any bottle that fits your project.
Step 1: use sand paper on the bottle.


Step 2: paint the bottle with acrylic paint, use dark green layer and then use whiter layers as you progress, to increase texture you can use an old toothbrush, use a tone up from the one you have on the bottle, then use small strokes hitting the bottle with the toothbrush.


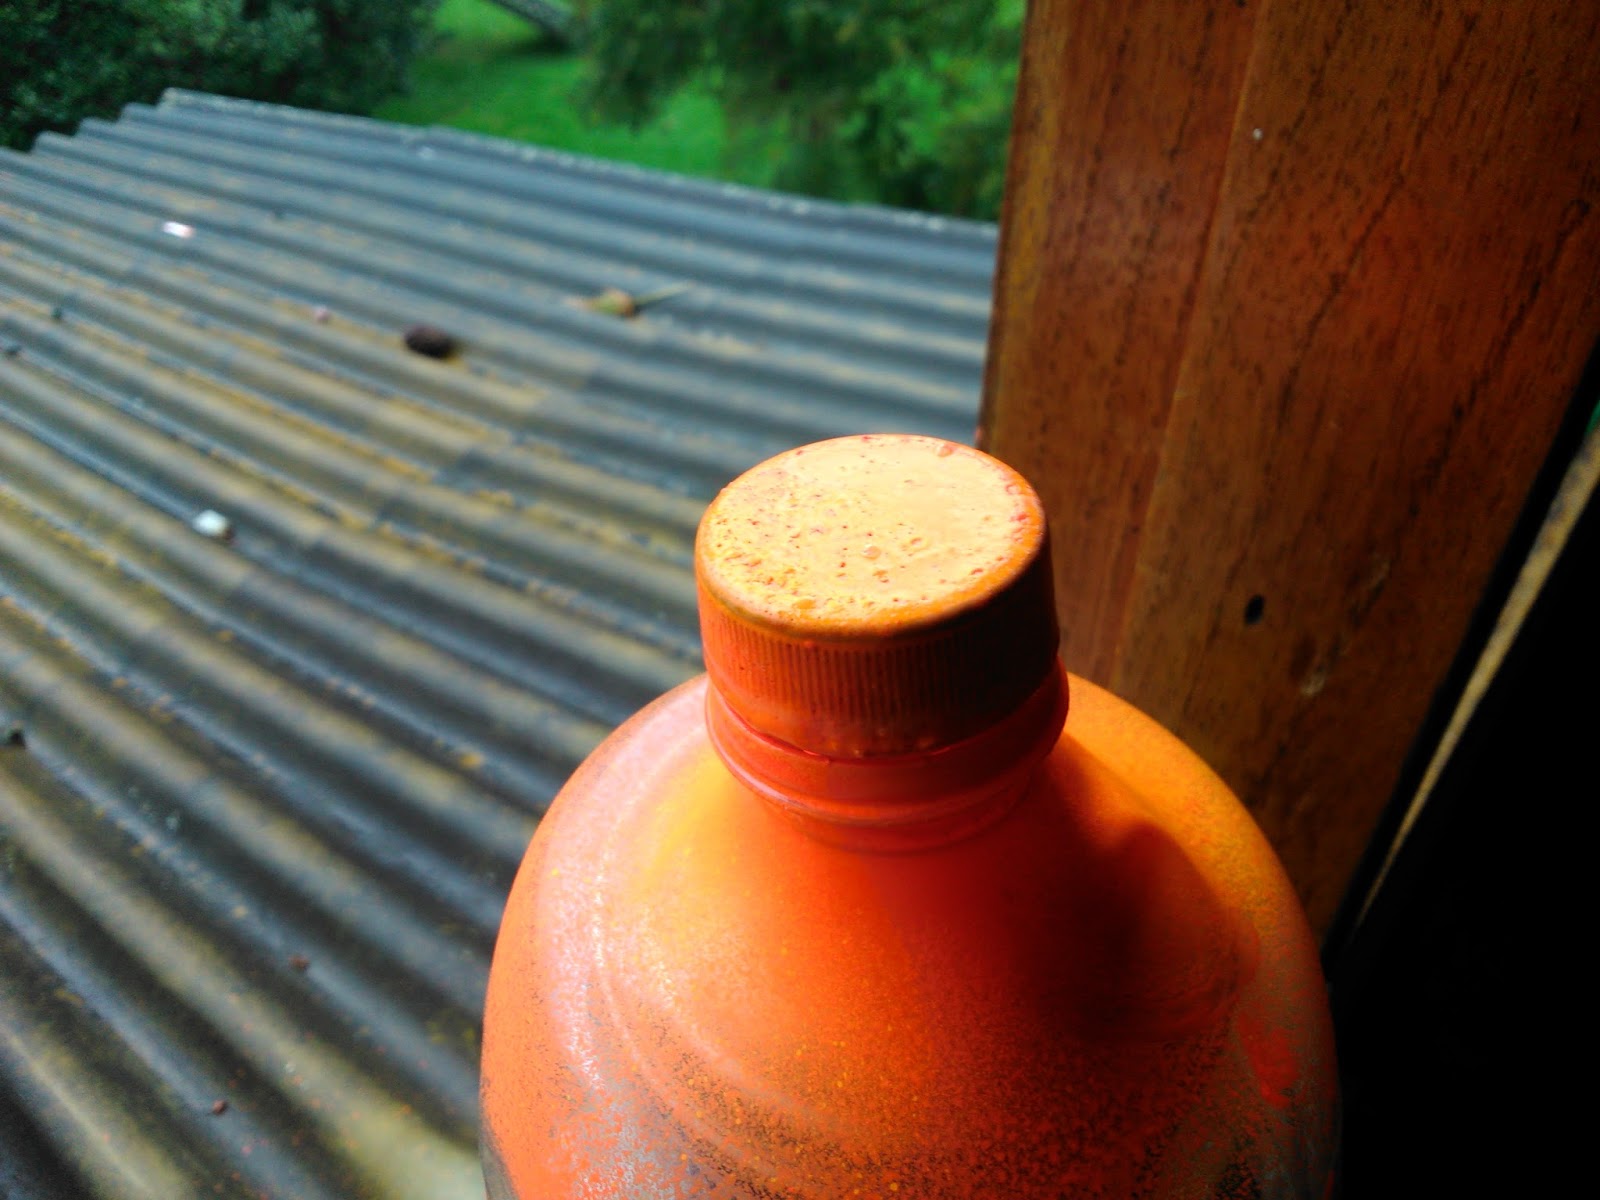
now paint the bottle cap with some bright vibrant color like orange, i used spray but you can use acrylic as well, in order to make the process easier, use another bottle to place your cap.
the last step is to use transparent Laquer, apply at least 3 layers so it looks vivid and kind of wet, like a flower at dawn, remember to let every layer dry completely before you apply the next.


as you can see i used Laquer only on the flower itself but not the bottle so the flower becomes the eye catcher.
Enjoy :D
follow me on:
Instagram: https://instagram.com/alternative_recycling/
No hay comentarios:
Publicar un comentario